Most AI porn starts with a blank prompt box. A template starts with a finished idea: a motion preset, a tuned recipe, a dedicated style model, and a preview of what the result looks like. You pick a card, drop in your photo, and generate. No prompt engineering, no editing software, no guessing what words will make the scene move the way you want it to.
This guide is about the template feed on this site: how it works, how to pick a template, what photo to use, what it costs, and how to make the result yours instead of a copy of the preview. It is the opposite workflow from the prompt guides on this site — those teach you to build a scene from words, and this one teaches you to start from a scene that already works.
Quick verdict
Templates trade control for certainty: you give up writing the prompt, and in return you get a scene that already works, with a known price printed on the button before you confirm. Pick by the preview, use an upper-body photo with a clear face, and steer with the optional prompt field only when you want a say.
In this guide
- 1. What a template is
- 2. How the feed works
- 3. Video vs image templates
- 4. What it costs
- 5. Picking a template: the preview test
- 6. The photo: what works best
- 7. Making it yours: the optional prompt
- 8. When a template is the wrong tool
- 9. Privacy: uploads, results, and sharing
- 10. Consent: the rule that decides everything
- FAQ
1. What a template is
A template is a finished scene with your photo in it. Every template carries its own professionally tuned recipe and a dedicated style model — the motion, the framing, the lighting, and the look are already decided, tested, and tuned by the people who built the template. Your job is not to design the scene. Your job is to pick the scene and supply the face and body that go in it.
That is the whole point of using one. A prompt is a request: you describe what you want and hope the model understands. A template is a result: you see the preview, you know what the motion looks like, and you know what the style is. The uncertainty moves from “will this work?” to “will my photo work in this?” — and that is a much easier question to answer, because you can see your photo before you generate.
Templates are grouped by the kind of scene they create. The feed’s filters let you browse by type — all, new, video, image, couple, undress, and more — so you can start from the kind of scene you want instead of scrolling through everything. Pick the category first, then the card.
2. How the feed works
The feed is a gallery of cards. Each card shows a preview — a still or a short motion sample — of what the template makes. You browse the cards, open the one you like, drop in your photo, and press generate. The template’s recipe does the rest: it takes your photo, applies the motion preset and the style model, and produces a personalized video or image in seconds.
There is no prompt box to fill in. That is deliberate: the recipe is the prompt, already written and already tested. An optional prompt field sits in the settings for when you want a say — you can steer details like hair, outfit, and setting — and you can leave it empty. Most people should leave it empty on their first run: the template was tuned without it, and adding words you do not need is the fastest way to pull a tuned scene off course.
The exact price is printed on the generate button before you confirm. There are no surprise charges afterwards: the button shows the cost, you confirm, and that is what you pay. Check the price before every run, because video and image templates cost different amounts, and longer video cuts cost more than shorter ones.
3. Video vs image templates
The feed has two kinds of template, and they do different jobs. Video templates turn your photo into a moving scene: a 720p render, five seconds by default, with a longer eight-second cut available. Image templates make a single still image from your photo, with the template’s style and framing applied. The video is the showpiece; the image is the cheap test.
Use the image template first when you are trying a new template. It costs a flat 49 credits, and it tells you whether your photo works in this scene — whether the face holds, whether the framing is right, whether the style suits the photo. If the image looks right, the video will too: the same recipe, the same style model, the same photo. If the image looks wrong, you have spent 49 credits learning that, instead of 351 on a video you will not keep.
Use the video template when you already know the scene works — when you have run the image version, or when you have used the template before and you know your photo fits it. The five-second cut is the default and the cheapest; the eight-second cut costs more and gives the motion more room to breathe. A slow, romantic motion benefits from the longer cut. A quick, punchy motion does not need it.
4. What it costs
Video templates start at 351 credits for a 720p, five-second render; the longer eight-second cut is 561 credits. Image templates are a flat 49 credits per image. The exact price is always printed on the generate button before you confirm.
In dollars, that is about $7.02 for a five-second video and $11.21 for an eight-second one on the $19.99 pack (1,000 credits at about $0.020 each), or about $4.21 and $6.73 on the $59.99 pack (5,000 credits at about $0.012 each). An image template is about $0.98 on the $19.99 pack and $0.59 on the $59.99 pack. The annual packs work out cheaper per credit still — $119.88 for 1,000 credits a month, $359.88 for 5,000 a month — but the per-template math is the same: multiply the credits by your pack’s per-credit price.
The honest way to think about the cost is per keeper, not per generation. A video template you run once and keep costs 351 credits. A video template you run three times because the photo was wrong costs 1,053. The image-first test in section 3 exists for exactly this reason: one 49-credit image that tells you the scene works is cheaper than one 351-credit video that tells you it does not.
5. Picking a template: the preview test
Pick by the preview, not by the title. The title tells you what the template is called; the preview tells you what it actually makes. Watch the motion sample all the way through: does the movement look natural, or does it loop awkwardly? Does the framing hold, or does the subject drift? Does the style match the photo you plan to use, or will your photo fight it?
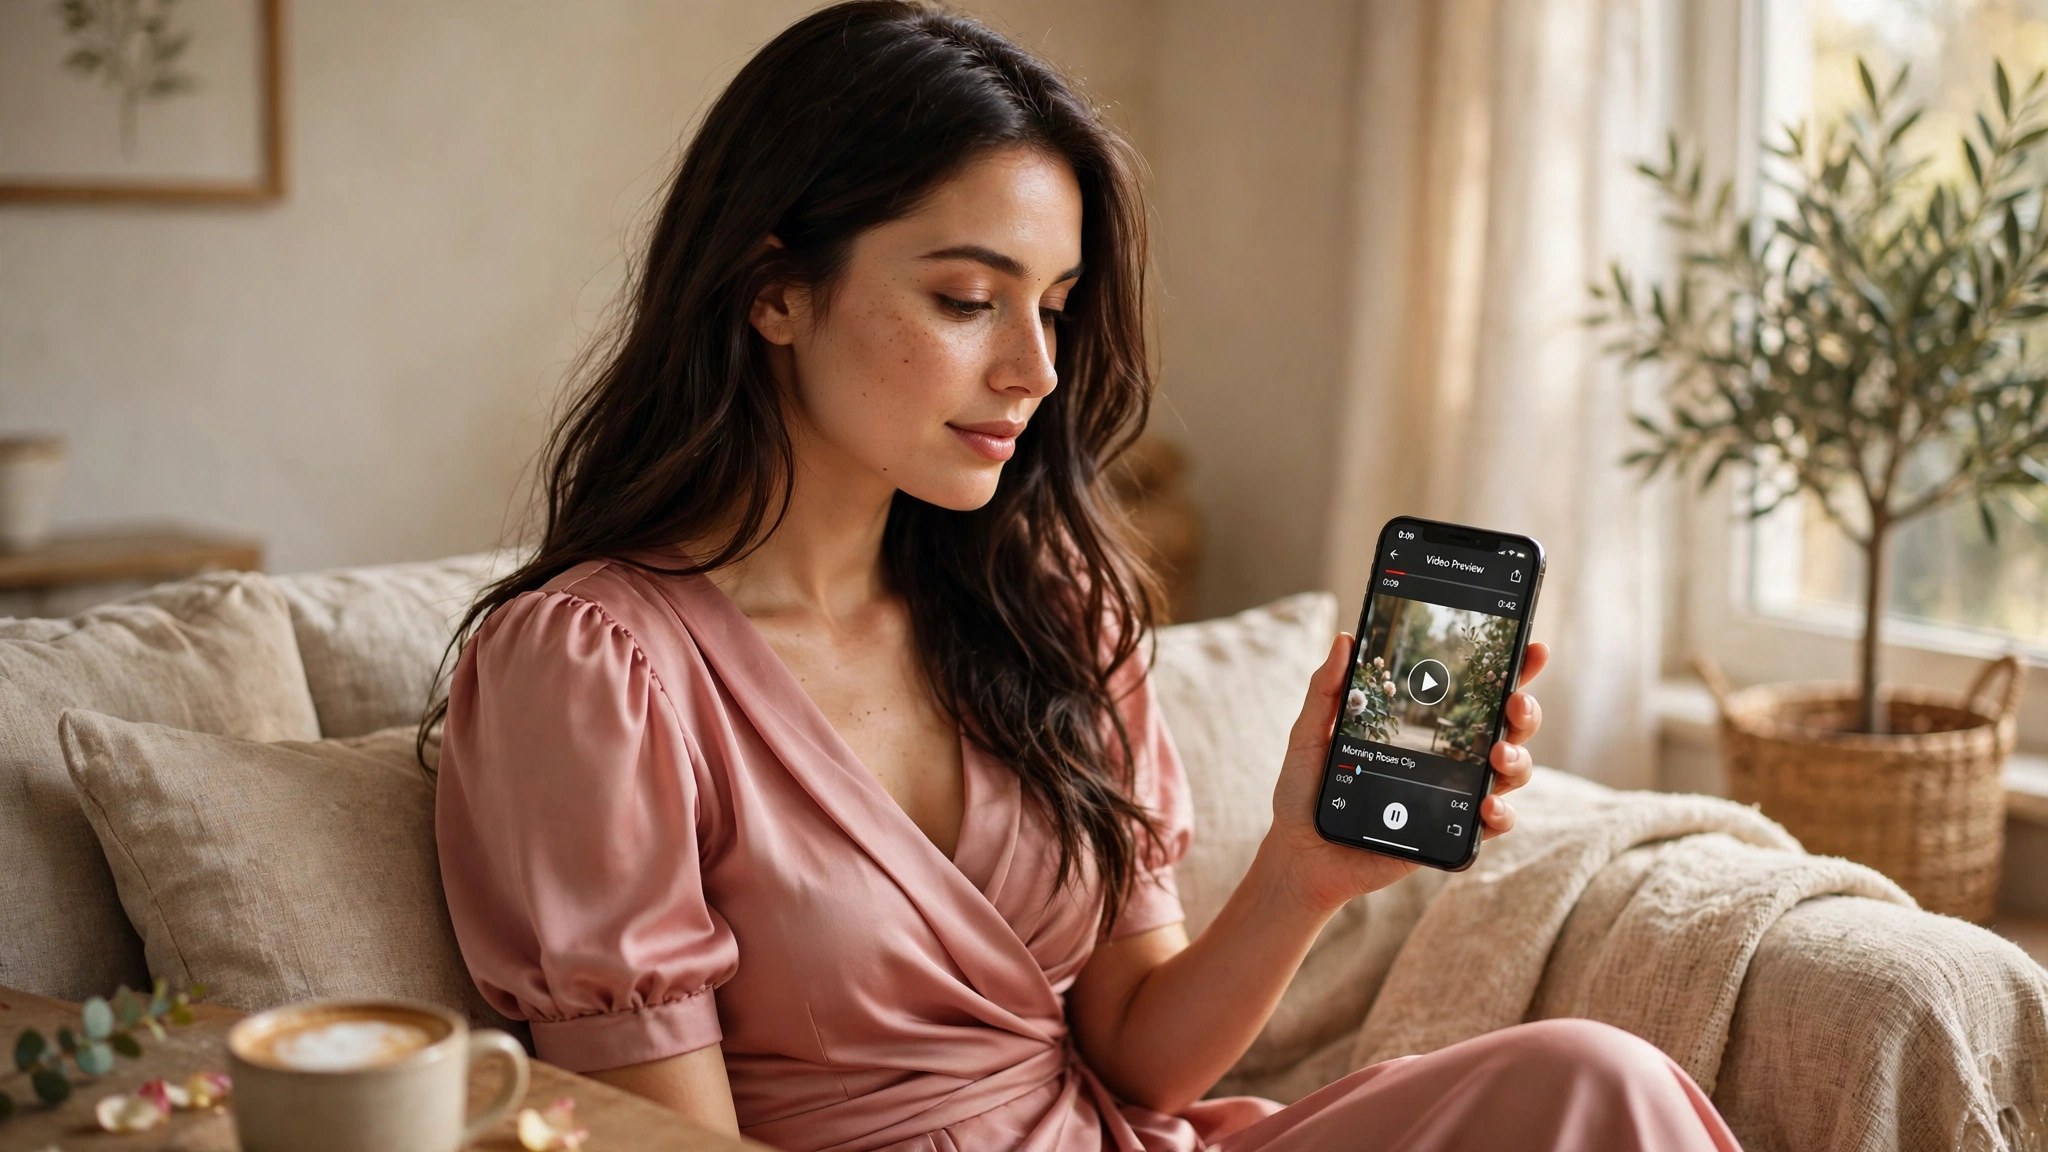
Pick by the scene, not by the category. A “couple” template with a slow, close motion is a different scene from a “couple” template with a fast, wide one, and the category does not tell you which is which. The preview does. If two templates look similar, pick the one whose preview moves the way you want your result to move.
And pick one template at a time. Running three similar templates to compare them costs three times as much as running one well. The image-first test is the cheap comparison: run the image version of each candidate, keep the one that looks right, and only then run the video.
6. The photo: what works best
An upper-body photo with a clear, unobstructed face works best. That is the feed’s own guidance, and it is the right one: the template needs to see the face to keep it, and it needs to see the shoulders and chest to place the body in the scene. A full-body photo works too, but the upper body is what the template reads most carefully.
The same photo rules apply here as anywhere else on this site: front-facing, well lit, sharp, with the face unobstructed by hair, hands, or sunglasses. A photo that already looks good will look good in the template. A photo that is dark, blurry, or shot from a strange angle will not be fixed by the template — the recipe can style a photo, but it cannot repair one.
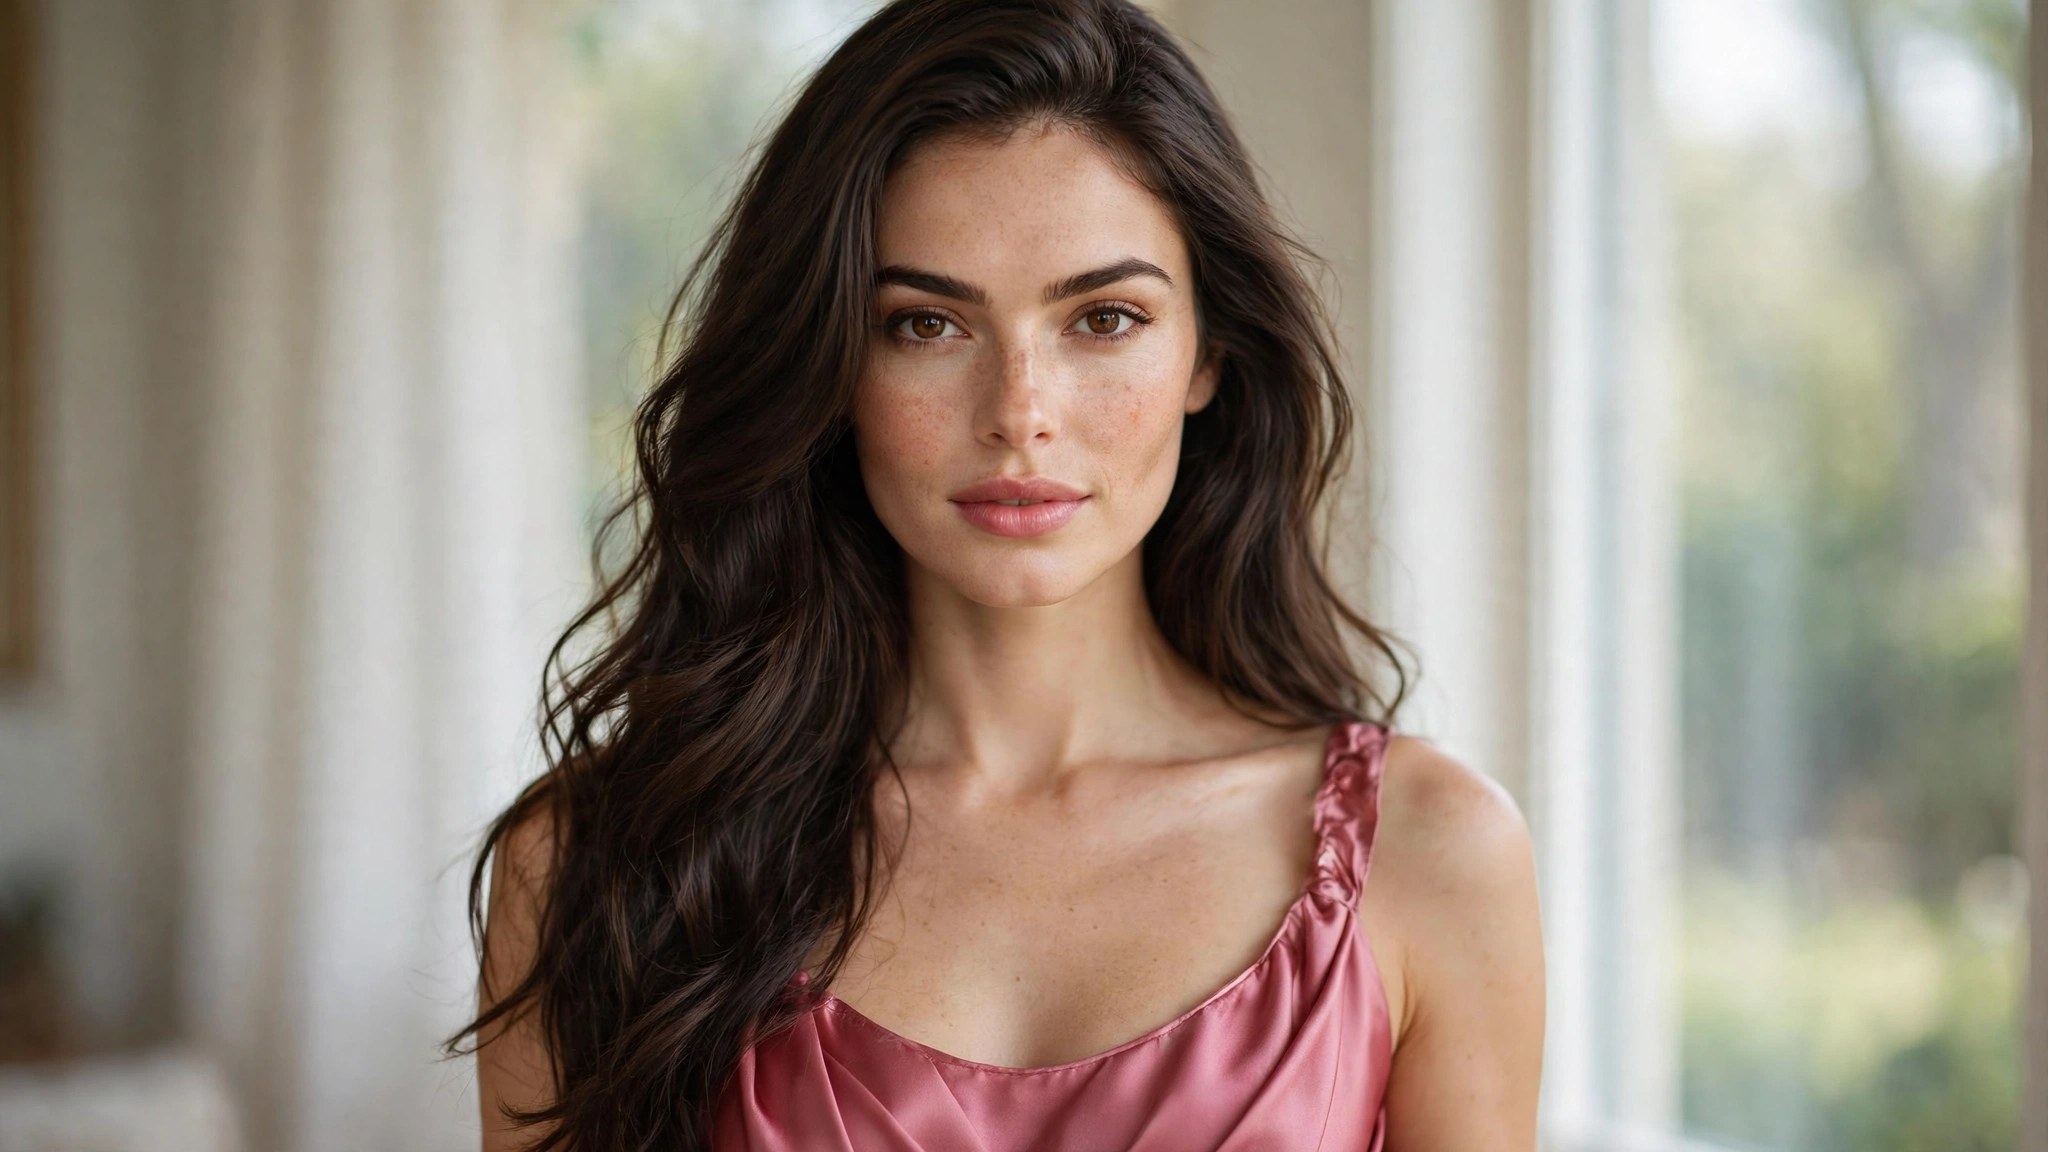
Match the photo to the scene. A template with warm, romantic light wants a photo taken in warm light. A template with a bright, outdoor feel wants a photo taken in daylight. A template with a dark, moody look wants a photo with shadows in it. The closer your photo’s light matches the template’s light, the less the recipe has to reconcile — and the more the result looks like your photo, in that scene, instead of a stranger pasted into it.
7. Making it yours: the optional prompt
Every template has an optional prompt field in the settings. You can leave it empty — the template was tuned to work without it — or you can use it to steer details: hair, outfit, setting. The key word is details. The prompt steers; it does not redesign. If you write a whole new scene into the prompt field, you are fighting the template, and the template will usually win — or the result will be a compromise that pleases nobody.
Steer one thing at a time. Change the outfit, or change the setting, or change the hair — not all three. One change is a steer; three changes is a new scene, and a new scene belongs in the free-form generator, not in a template. Our prompt guides on this site go deep on building scenes from words; use those when the scene is yours to design, and use templates when the scene is already designed and you want to step into it.
If the steer does not work, remove it and run the template clean. A template that works without a prompt is a working template. A template that only works with the right prompt is a prompt with extra steps.
8. When a template is the wrong tool
Templates are the wrong tool when the scene does not exist yet. If you have a specific idea — a particular pose, a particular room, a particular story — and no template matches it, do not force a template to be that idea. Use the free-form generator instead: write the prompt, build the scene, and accept that the first run may not be the keeper. Templates are for scenes that already exist. Prompts are for scenes that do not.
Templates are also the wrong tool when you want full control. A template decides the motion, the framing, and the style. If you want to decide those things yourself, the template is in your way. The free-form generator gives you the controls; the template takes them away on purpose, in exchange for certainty. Choose by what you want more: control, or certainty.
And templates are the wrong tool for a photo that does not fit any of them. If your photo is a landscape, a group shot, or a close-up of a face with no shoulders in frame, no template will place it well — the recipe expects an upper body. Use a photo that fits the template, or use the free-form generator, which does not expect anything.
9. Privacy: uploads, results, and sharing
Uploads are deleted after generation. Results stay private to your account unless you choose to share them. That is the feed’s own policy, and it is the right one for a tool that handles your photos: the input is temporary, the output is yours, and sharing is your choice, not the default.
Every character involved is an original, fictional adult. That is not a footnote; it is the condition the whole feed runs on. The templates are built for fictional adults, and the results are fictional adults. Do not use them to recreate a real person, and do not share a result as if it were a real person. The privacy policy protects your photos; the fiction policy protects everyone else’s.
10. Consent: the rule that decides everything
Only use photos of yourself, or of fictional adults. Never use a photo of a real person without their consent — not a celebrity, not an acquaintance, not a stranger. Non-consensual generation is not allowed, and a generated image is harder to take back than a photo once shared. The tool is built for your own photos and fictional adults, and that boundary is absolute.
This is also practical, not just ethical: photos taken with consent are usually better inputs. They are shot properly, well lit, front-facing — because the person knew they were being photographed. A stolen or secret photo is usually dark, cropped, or shot from a bad angle, which is also a bad input. Consent and quality point the same way.
FAQ
Do I need to write a prompt to use a template?
No. Every template carries its own professionally tuned recipe and a dedicated style model. An optional prompt field lets you steer details like hair, outfit, and setting, and you can leave it empty.
How much does a template cost?
Video templates start at 351 credits for a 720p, five-second render; the longer eight-second cut is 561 credits. Image templates are a flat 49 credits per image. The exact price is printed on the generate button before you confirm.
Should I try the image version first?
Yes, when you are trying a new template. It costs a flat 49 credits and tells you whether your photo works in the scene. If the image looks right, the video will too.
What photo works best in a template?
An upper-body photo with a clear, unobstructed face, front-facing, well lit, and sharp. Match the photo’s light to the template’s light for the most natural result.
Can I change the outfit or setting in a template?
Yes, with the optional prompt field — but steer one thing at a time. If you want a whole new scene, use the free-form generator instead of fighting the template.
Are my uploads kept?
No. Uploads are deleted after generation, and results stay private to your account unless you choose to share them.
Final verdict
Templates trade control for certainty: a finished scene, a tuned recipe, a known price, and no prompt to write. Pick by the preview, use an upper-body photo with a clear face, test a new template with the 49-credit image version first, and steer with the optional prompt only when you want a say. When the scene you want does not exist as a template, use the free-form generator instead — templates are for stepping into a scene that already works, not for building one from scratch.